Today’s tools are really easy: We just want treats, and also something you probably already have in your hand.
Treats
- tiny, just large enough to taste (this will be the size of a pea or a pencil eraser for most dogs; for cats, consider small treats or a smear of something lickable)
- healthy (it’s no good making a dog ill or obese with training!)
- easy to handle (you don’t want your hands greasy while you’re managing sharp trimmers or other tools)
- really good! (we want our animals happy to work for these)
But even treats can be tricky. There are many good options, but a few suggestions might be:
- individual pieces of shredded cheese
- shredded bits of leftover chicken breast
- cut pieces of dog food rolls (such as Freshpet, Red Barn, Happy Howie’s, or others)
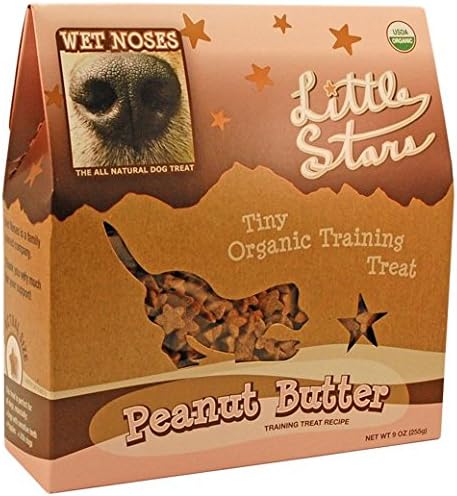
- healthy commercial treats already in small sizes (such as Bravo Bonus Bites or the delightfully tiny Little Stars)
Of course, if your pet has known allergies or sensitivities, choose accordingly.
“But wait, you said cheese and chicken! Isn’t that people food?“
I usually ask my clients, “What’s the difference between the chicken in your pet’s food and the chicken in mine?”
Of course, it’s all in the labeling! But it’s also good to note that many commercial pet treats are highly-processed, not good for maintaining a healthy weight, and also very expensive. A bag of smelly, oily treats from my local grocery store, with an ingredient list full of BHA and other chemicals, costs over $6 a pound. These treats are far too large to use for training, so I’d have to take additional time to chop them. Or at the same store I can buy plain cheese, already shredded into treat-sized pieces, for less than $3 a pound.
Obviously you’ll want to be sensible with any treats you choose, and if you have concerns, consult with your veterinarian. But don’t assume it’s automatically healthier and cheaper to buy commercial treats; it might well be the other way around!
A Suitable Container

You’ll also want a way to keep your hands free but also grab a treat quickly. You can use a treat bag for this if it’s well-designed; a poorly-designed bag is worse than no bag at all! My favorite is the Terry Ryan Treat Pouch from Karen Pryor Clicker Training, but any bag with a wide mouth and a secure, quick closure (I prefer French hinge or magnetic) will work.
(I don’t recommend a plastic baggie. Aside from the issues of disposable plastic, baggies tend to bunch and slide and are the slowest way to retrieve a treat for delivery. Use a study reusable bag, often silicone, or a purpose-made treat bag.)
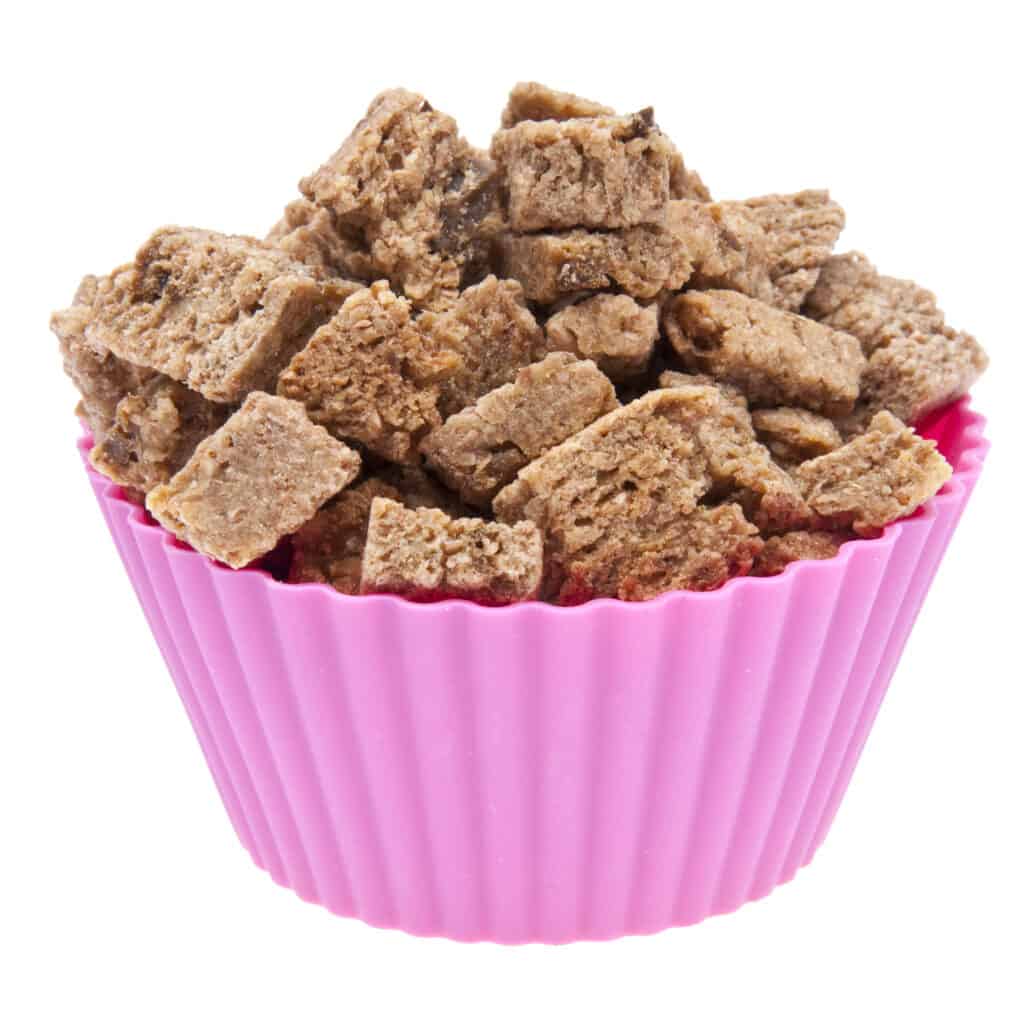
Alternately, you can keep treats in a bowl within your reach but not your pet’s reach. This is often how I do it with my own dogs, and you’ll see this in the videos here.
(Note that the videos show a dog who already understands the fastest way to get the treats is to work with me, rather than trying to climb into the bowl. If your pet is new to training, don’t set up confusion and conflict in your new training program by scolding them for being interested in the food. We can address that separately, away from nail care. Just put the food into a treat bag or out of reach.)
A Timer
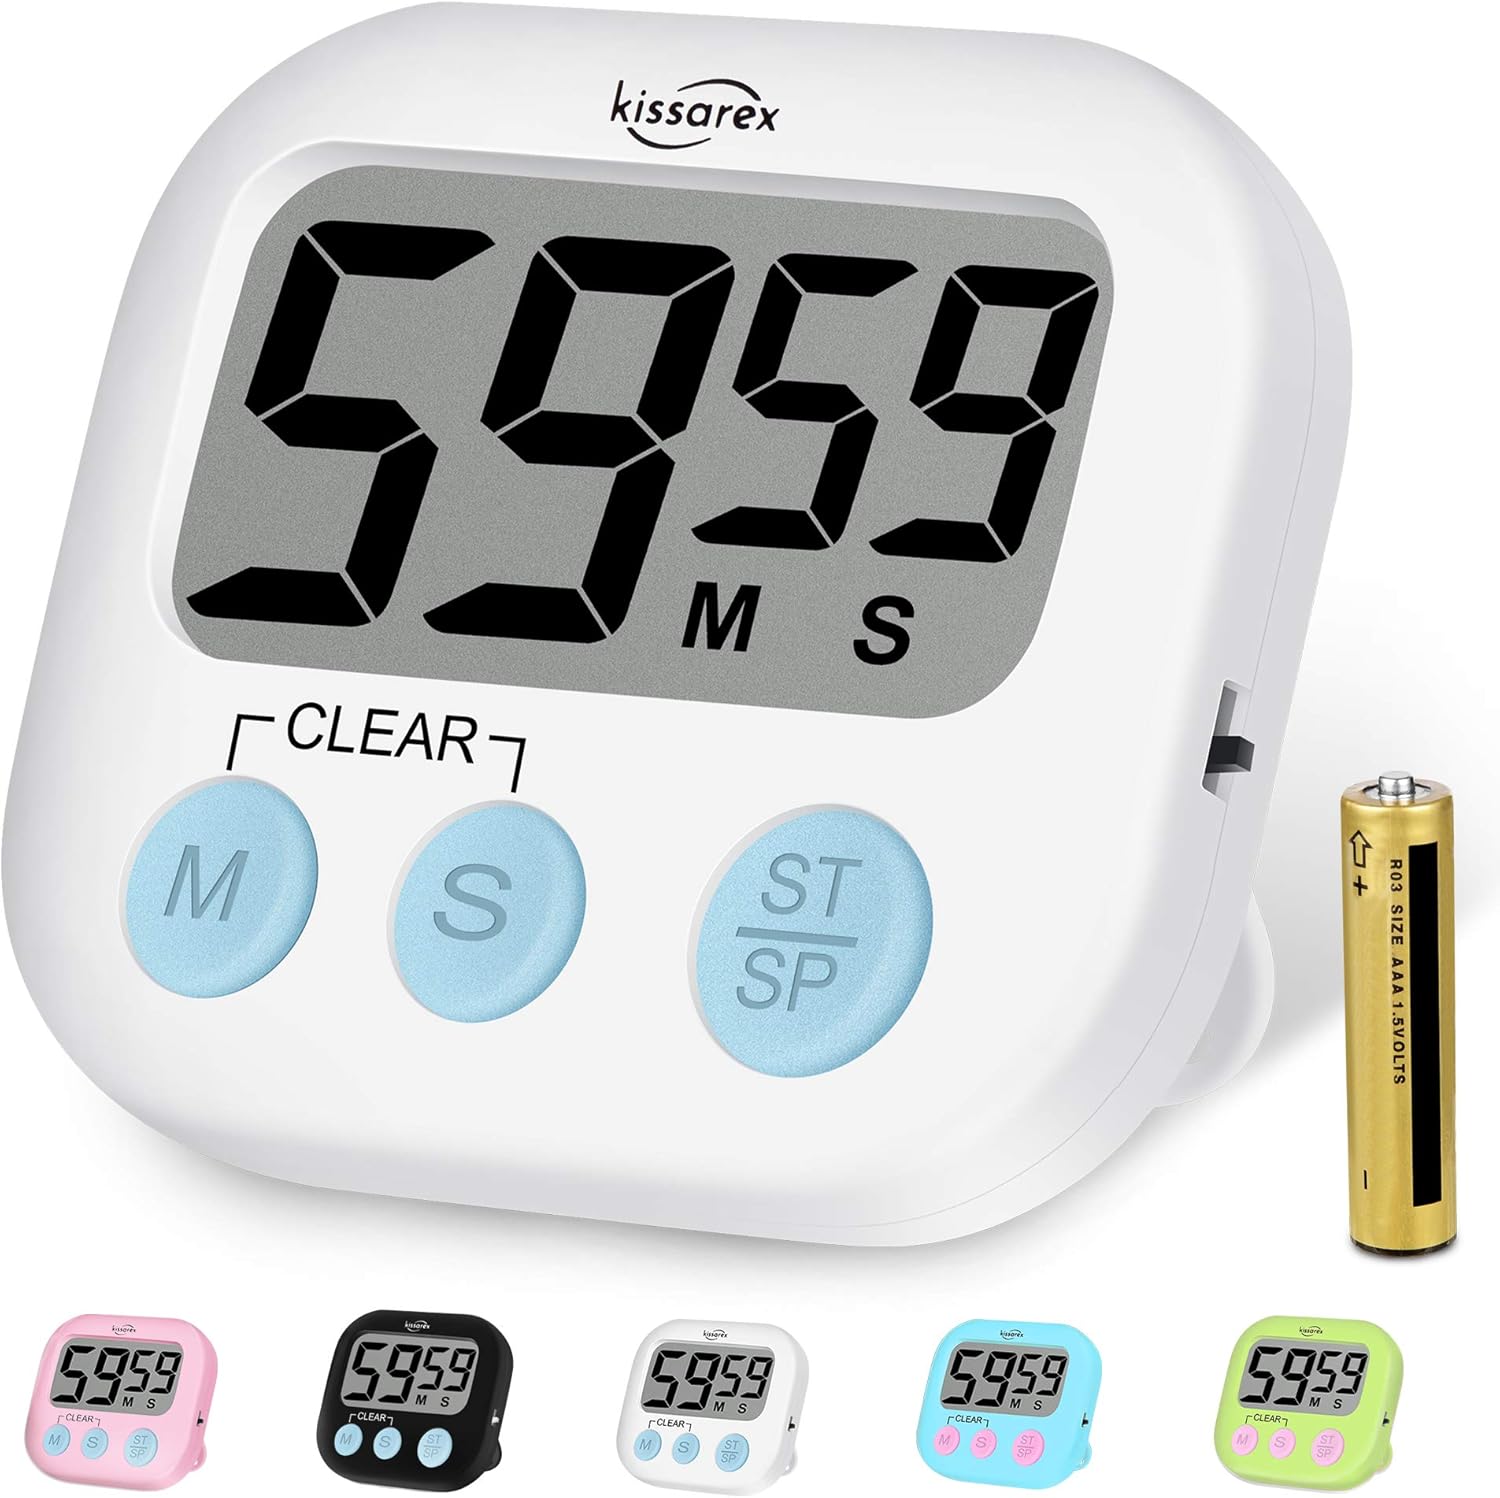
Most of our sessions will be short, but even so it’s easy to lose track of time while you’re working, and going too long will actually slow our progress. No matter your good intentions, it’s far too easy to go too long when you’re concentrating during a session. (I did it myself while recording the video demos for this course, and I’m the professional!) So you will need a timer to count down your session for you.
You probably have one of these on your phone already, or you can easily download a free app, or use a kitchen timer. Just make sure you have one which can count seconds rather than minutes. We’re going to work fast.
See you in the next lesson!